I still remember the first time I made pancakes for my toddler after our gluten- and dairy-free switch. The kitchen filled with that warm, buttery scent—but the pancake? It turned into a rubbery disc that bounced when it hit the plate. Not exactly the soft, fluffy bite I wanted for little fingers.
After a lot of trial (and plenty of sad pancakes), I landed on a simple ratio that works every time: four parts oat flour to one part tapioca starch. That one change made all the difference. The tapioca starch gives the pancakes a light, pillowy texture that mimics the gluten we’re missing. No gummy centers. No crumbly edges. Just tender pancakes that hold together when a toddler picks them up.
Why These Pancakes Work for Toddlers
Texture is everything with a picky eater. Too dense, and they’ll push the plate away. Too crumbly, and you’re sweeping up bits from the floor. These pancakes hit the sweet spot: soft enough to chew easily, sturdy enough to dip in syrup without falling apart.
The oat flour adds a natural sweetness and a dose of fiber. Oats are naturally gluten-free, but always buy certified gluten-free oat flour to avoid cross-contamination. The almond milk keeps things dairy-free without sacrificing moisture. Coconut oil replaces butter, adding a subtle richness that pairs well with maple syrup.
The Secret Ratio: Oat Flour to Tapioca Starch
Here’s the specific tip you won’t find everywhere: use a 4:1 ratio of oat flour to tapioca starch by volume. That means for every 1 cup of oat flour, add 1/4 cup tapioca starch. This ratio creates a batter that’s thick enough to hold its shape on the griddle but light enough to rise properly.
If you skip the tapioca starch, your pancakes will be dense and gummy. The starch absorbs excess moisture and gives that soft, almost cloud-like crumb. It’s the same trick used in many gluten-free baked goods. Don’t substitute cornstarch—it works, but the texture is less tender.
Step-by-Step: How to Make Them Fluffy Every Time
1. Whisk Dry Ingredients First
This seems obvious, but it’s important: whisk the oat flour, tapioca starch, baking powder, and salt together in a large bowl. This distributes the baking powder evenly, so you don’t end up with one pancake that’s extra puffy and another that’s flat.
2. Let the Batter Rest
After mixing wet and dry, let the batter sit for exactly 5 minutes. This is non-negotiable. Oat flour is thirsty—it needs time to absorb the liquid. If you cook the pancakes right away, they’ll spread thin and turn out flat. After resting, the batter thickens slightly and pancakes rise beautifully.
3. Use Medium-Low Heat
High heat burns the outside before the inside cooks through. Medium-low heat gives you golden brown pancakes with a fully cooked center. Test the pan with a drop of water: it should sizzle gently, not aggressively. If it dances and evaporates immediately, turn the heat down.
4. Flip at the Right Moment
Wait until bubbles appear on the surface and the edges look set—usually 2 to 3 minutes. Then flip quickly but gently. The second side takes less time, about 1 to 2 minutes. The pancake should spring back when you press the center lightly.
Common Mistakes (and How to Avoid Them)
- Overmixing the batter: Stir until just combined. Lumps are fine. Overmixing develops too much sticky texture, leading to dense pancakes.
- Skipping the rest time: This is the number one reason gluten-free pancakes fail. The batter needs those 5 minutes to hydrate properly.
- Using too much liquid: If your batter looks runny, add a tablespoon more oat flour. It should be thick enough to hold a ribbon shape when you lift the spatula.
Make Them Your Own
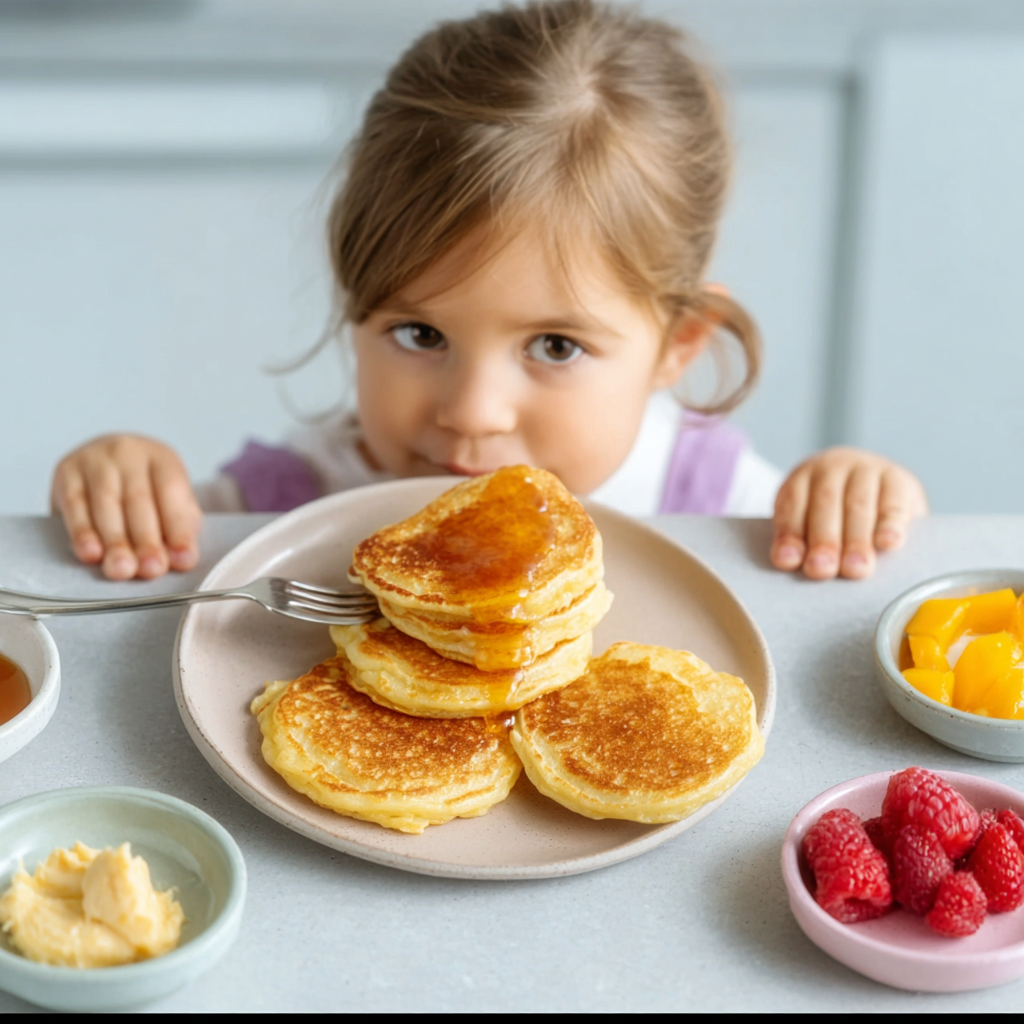
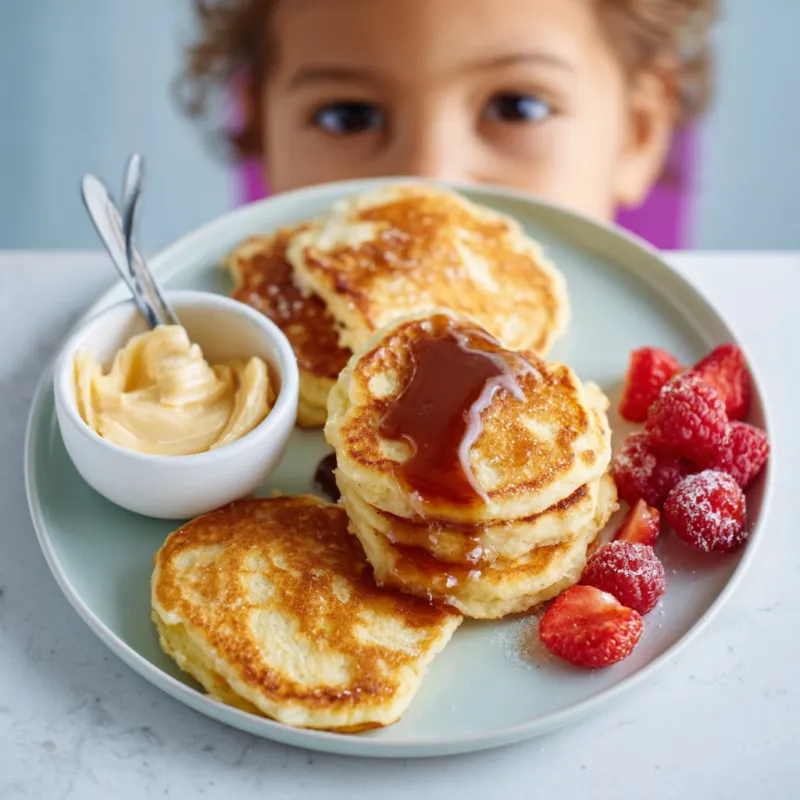
These pancakes are a blank canvas. For extra nutrition, stir in a tablespoon of finely ground flaxseed or a handful of blueberries. For sweeter pancakes, add a mashed ripe banana (reduce the milk by 2 tablespoons to keep the consistency right). My toddler loves them with a thin smear of sunflower seed butter and a few slices of strawberry on top.
Freezing and Reheating
I always make a double batch. Cool the pancakes completely on a wire rack (steam makes them soggy if stacked hot). Then layer them with parchment paper in a freezer-safe bag. They keep for up to 3 months. To reheat, pop them in the toaster or microwave for 20 seconds. They come out just as fluffy as the day you made them.
These pancakes have become a Saturday morning staple in our house. No more rubbery discs. Just soft, golden rounds that disappear as fast as I can make them. And that’s the kind of breakfast win every parent needs.
This content is for educational purposes only. Always consult a qualified healthcare professional for personal dietary or health decisions.
Frequently Asked Questions
Can I make these pancakes egg-free?
Yes. Use a flax egg (1 tablespoon ground flaxseed mixed with 3 tablespoons water, let sit for 5 minutes until gel-like). The pancakes will be a little less fluffy but still soft and toddler-friendly.
Why did my gluten-free pancakes turn out gummy?
Gummy pancakes usually mean too much liquid or not enough starch. Stick to the 4:1 ratio of oat flour to tapioca starch. Also, let the batter rest 5 minutes so the oat flour absorbs properly. Overmixing can also develop too much sticky texture.
Can I use a different flour instead of oat flour?
You can substitute a gluten-free all-purpose blend (like one with rice flour and potato starch), but the texture will be slightly different. Oat flour gives a naturally sweet, tender crumb. If using a blend, add an extra tablespoon of milk to adjust consistency.
How do I store leftover pancakes?
Cool completely, then stack with parchment paper between each pancake. Place in a freezer-safe bag and freeze for up to 3 months. Reheat in a toaster or microwave. They also keep in the fridge for 3 days.
Fluffy Toddler Pancakes (Gluten & Dairy Free)
Ingredients
Equipment
Method
- In a large bowl, whisk together oat flour, tapioca starch, baking powder, and salt. This distributes the leavener evenly, no clumps.
- In a separate bowl, whisk the egg (or flax egg) until frothy. Add almond milk, maple syrup, vanilla, and melted coconut oil. Whisk until combined.
- Pour the wet ingredients into the dry. Stir gently with a spatula just until no dry spots remain. A few lumps are fine. Overmixing makes pancakes tough.
- Let the batter rest for 5 minutes. This lets the oat flour absorb liquid, which gives a fluffier pancake. The batter will thicken slightly.
- Heat a non-stick skillet or griddle over medium-low heat. Add a small pat of coconut oil. The pan is ready when a drop of water sizzles gently, not aggressively.
- Pour 1/4 cup batter per pancake onto the hot pan. For toddler-sized, use 2 tablespoons. Cook until bubbles form on the surface and edges look set, about 2–3 minutes.
- Flip carefully with a spatula. Cook another 1–2 minutes, until golden brown. The center should spring back when lightly pressed.
- Transfer to a plate. Serve warm with a drizzle of maple syrup or a smear of nut butter. These freeze beautifully.