The first time I made gluten-free pancakes, they were a tragedy. Flat, rubbery discs that stuck to the pan and tasted like cardboard. My kids took one bite and pushed their plates away. I knew there had to be a better way.
After many batches—some edible, some not—I found the secret: a blend of two rice flours. White rice flour gives lightness. Sweet rice flour (the sticky kind used in mochi) provides the binding that gluten normally would. No xanthan gum, no gritty texture. Just pancakes that actually taste like pancakes.
Why This Blend Works
Gluten-free baking is all about mimicry. Gluten gives conventional pancakes stretch and structure. Without it, batters tend to spread thin and turn out tough. Sweet rice flour contains a unique starch that gels when heated, creating a tender crumb and helping the pancake hold together. White rice flour keeps the stack light.
The 2:1 ratio (two parts white to one part sweet) is key. Too much sweet rice flour and the pancakes get gummy. Too little and they fall apart. I tested this ratio over a dozen times before landing here.
Batter Resting Is Non-Negotiable
Here’s a step many skip: let your batter rest for five minutes after mixing. During this time, the rice flours absorb the liquid and soften. The baking powder activates. The result is a thicker, more cohesive batter that cooks into fluffier pancakes. If you cook immediately, they’ll be thin and dense.
You’ll notice the batter is slightly thicker than regular pancake batter. That’s normal. Don’t thin it out too much or you’ll lose the lift.
Getting the Heat Right
Medium heat is your friend. Too high and the outside burns before the inside cooks through. Too low and they spread into pale, flat disks. I keep my electric griddle at 350°F. On the stovetop, medium heat usually works—test with a drop of batter first. It should sizzle gently, not aggressively.
Watch for bubbles. When the surface is covered in small bubbles and the edges look dry, it’s time to flip. This usually takes 2-3 minutes. Flip once and only once. Flipping multiple times deflates the pancakes.
Customizing for Your Family
These pancakes are a blank canvas. For blueberry pancakes, drop a handful of fresh or frozen berries onto each pancake right after pouring the batter. For chocolate chip, stir 1/3 cup mini chocolate chips (check labels for dairy-free) into the batter. A teaspoon of cinnamon in the dry mix adds warmth.
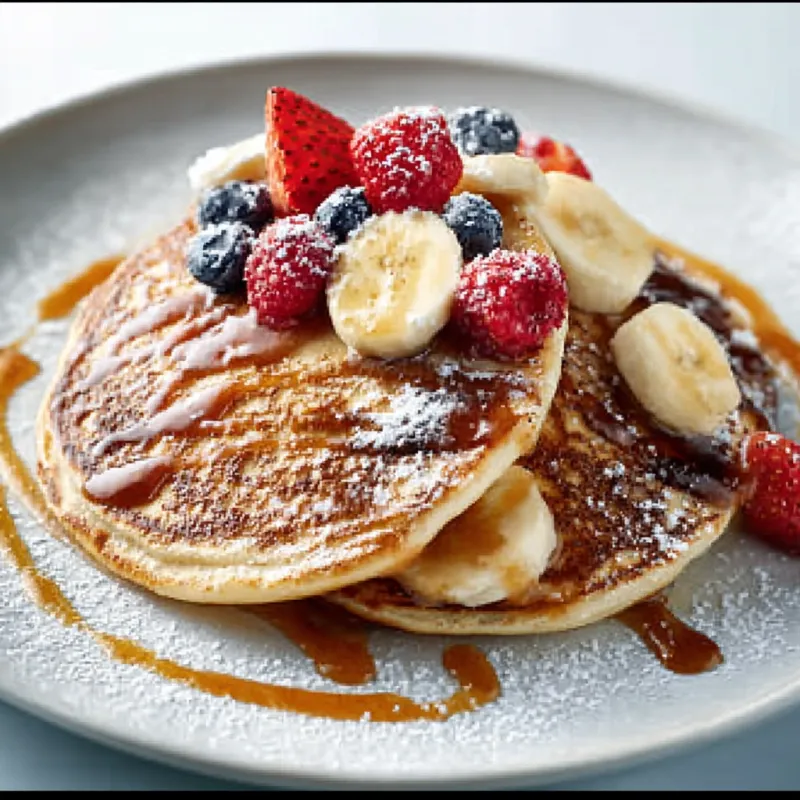
My kids love them with sliced bananas and a drizzle of maple syrup. I sometimes add a tablespoon of lemon zest to the batter for a bright twist.
Make-Ahead and Freezing
This recipe makes eight medium pancakes, perfect for a family of four. If you have leftovers, they freeze beautifully. Cool them completely on a wire rack, then stack with parchment paper between each pancake. Slide into a freezer bag and freeze for up to two months. Reheat straight from frozen in a toaster or skillet.
For busy mornings, I double the batch and freeze half. Pop them in the toaster while the kids get dressed.
Common Pitfalls to Avoid
- Overmixing: Stir until the flour disappears. A few lumps are fine. Overmixing develops too much starch and makes pancakes tough.
- Skipping the rest: That five-minute rest is crucial for texture. Set a timer if you need to.
- Using watery milk: Thin dairy-free milks (like unsweetened almond) can make pancakes flat. Stick with full-fat coconut milk, oat milk, or soy milk for best results.
- Not greasing the pan: Even non-stick pans need a thin layer of oil for gluten-free pancakes. Use coconut oil or a dairy-free butter spray.
Takeaway: Great gluten- and dairy-free pancakes are possible with the right flour blend and a little patience. The 2:1 ratio of white to sweet rice flour gives you fluffy, tender pancakes that don’t fall apart. Rest the batter, mind your heat, and flip only once. Your family won’t miss the gluten.
This content is for educational purposes only. For personal dietary advice, consult a qualified healthcare professional.
Frequently Asked Questions
Can I substitute the rice flours with a gluten-free all-purpose blend?
Yes, you can use 1 1/2 cups of a gluten-free all-purpose blend that contains xanthan gum. The texture will be slightly different—more like a standard pancake. If your blend doesn’t have a binder, add 1/2 teaspoon xanthan gum. Reduce the rest time to 3 minutes.
What can I use instead of coconut milk?
Any dairy-free milk works: almond, oat, or soy milk. Use a thicker one like oat or soy for best results. Avoid very watery milks like unsweetened almond milk, which may make the pancakes flat. If using thinner milk, reduce the water to 2 tablespoons.
Why did my pancakes turn out gummy?
Gumminess usually comes from overmixing the batter or using too much sweet rice flour. Sweet rice flour is sticky by nature—it’s what gives the pancakes structure without gluten. Stick to the ratio in the recipe and mix only until combined.
Can I make these vegan?
You can try replacing each egg with a flax egg (1 tablespoon ground flaxseed + 3 tablespoons water per egg). The texture will be denser and less fluffy. Increase the baking powder to 1 1/2 tablespoons to help with lift.
Fluffy Gluten and Dairy Free Pancakes
Ingredients
Equipment
Method
- In a large bowl, whisk together white rice flour, sweet rice flour, sugar, baking powder, and salt. Make sure baking powder is well distributed.
- In a separate bowl or measuring cup, whisk together coconut milk, water, eggs, melted oil, and vanilla until smooth.
- Pour the wet ingredients into the dry ingredients. Stir gently with a whisk or spatula until just combined. A few small lumps are fine. Do not overmix.
- Let the batter rest for 5 minutes at room temperature. This lets the rice flours hydrate and relaxes any air bubbles for a tender pancake.
- Heat a non-stick skillet or griddle over medium heat (about 350°F if using an electric griddle). Add a tiny drizzle of oil or a pat of dairy-free butter.
- Pour 1/4 cup of batter per pancake onto the hot surface. Spread gently with the back of the cup if needed. The batter will be slightly thicker than conventional pancake batter.
- Cook until bubbles form on the surface and the edges look set, about 2-3 minutes. The bottom should be golden brown. Flip carefully and cook another 1-2 minutes until the second side is golden.
- Serve immediately or keep warm in a low oven (200°F) while you cook the remaining batter.