The first time I made pancakes for a sensory-sensitive eater, I learned the hard way that texture matters more than taste. A pancake with a crispy edge, a chewy center, and a hidden lump of flour? That’s a breakfast minefield. What we need is predictability. A pancake that looks the same on the outside as it does on the inside. One that feels soft, spongy, and uniform with every bite.
These autism-friendly pancakes deliver exactly that. They’re made with a gluten-free flour blend, blended until the batter is glass-smooth, and cooked low and slow for a golden exterior and a tender, even crumb. No surprises. No gummy spots. Just a gentle, consistent pancake that works for breakfast, snack, or a quiet weekend morning.
Why Texture Consistency Matters
A pancake that’s crispy on one edge and soft on the other can be jarring. For someone who relies on predictable mouthfeel, that variation is a dealbreaker. The key is to eliminate texture differences at every stage.
First, the flour. A gluten-free all-purpose blend with xanthan gum gives the batter structure without the chewiness of wheat gluten. Second, the blending. A whisk leaves small lumps. A blender erases them entirely. The batter should look like a thick milkshake—no flecks, no streaks. Third, the heat. Medium-low is your friend. High heat creates a hard crust before the inside sets. Low heat lets the pancake cook evenly through, so the whole thing is soft and springy.
The Right Batter Consistency
After blending and resting, the batter should be thick enough to hold its shape on the pan but still pour slowly from a spoon. If it’s too thin, the pancakes spread into thin, lacy disks that cook unevenly. If it’s too thick, they dome up and don’t cook through. The ideal batter looks like a slow-moving lava flow. If your batter seems thin after resting, add a tablespoon more flour. If it’s too thick, add a splash of milk.
One common mistake: skipping the rest. Gluten-free flours are thirsty. Without those 5 minutes, the batter is too liquid and the pancakes turn out gummy. Resting gives the flour time to hydrate, so the batter thickens naturally. You’ll see small bubbles rise to the surface—that’s the baking powder doing its work.
Cooking for Even Texture
Use a nonstick skillet or a well-seasoned griddle. A thin film of oil—not butter, which burns—keeps the surface slick. Pour 1/4 cup of batter per pancake. Don’t spread it with the back of the spoon. Let it find its own shape. This gives a uniform thickness from center to edge.
Watch for the visual cues. When the edges look dry and a few bubbles pop on the surface, it’s time to flip. The bottom should be a pale golden brown, not dark. Flip gently, and cook the second side just until it’s set. Press the center lightly with your finger—it should spring back. If it feels squishy, give it another 30 seconds.
I’ve found that keeping the pancakes small (about 3 inches across) makes them easier to handle and ensures even cooking. Larger pancakes tend to have a raw center if the heat isn’t perfectly balanced.
Flavor That Stays Gentle
These pancakes are intentionally mild. A touch of sugar for sweetness, a hint of vanilla for warmth. No spices, no citrus zest, no strong flavors that might overwhelm. The butter adds richness without being greasy. If you’re using nondairy milk, choose unsweetened oat or rice milk—they have the mildest taste. Almond milk can add a subtle nuttiness, which some eaters might notice.
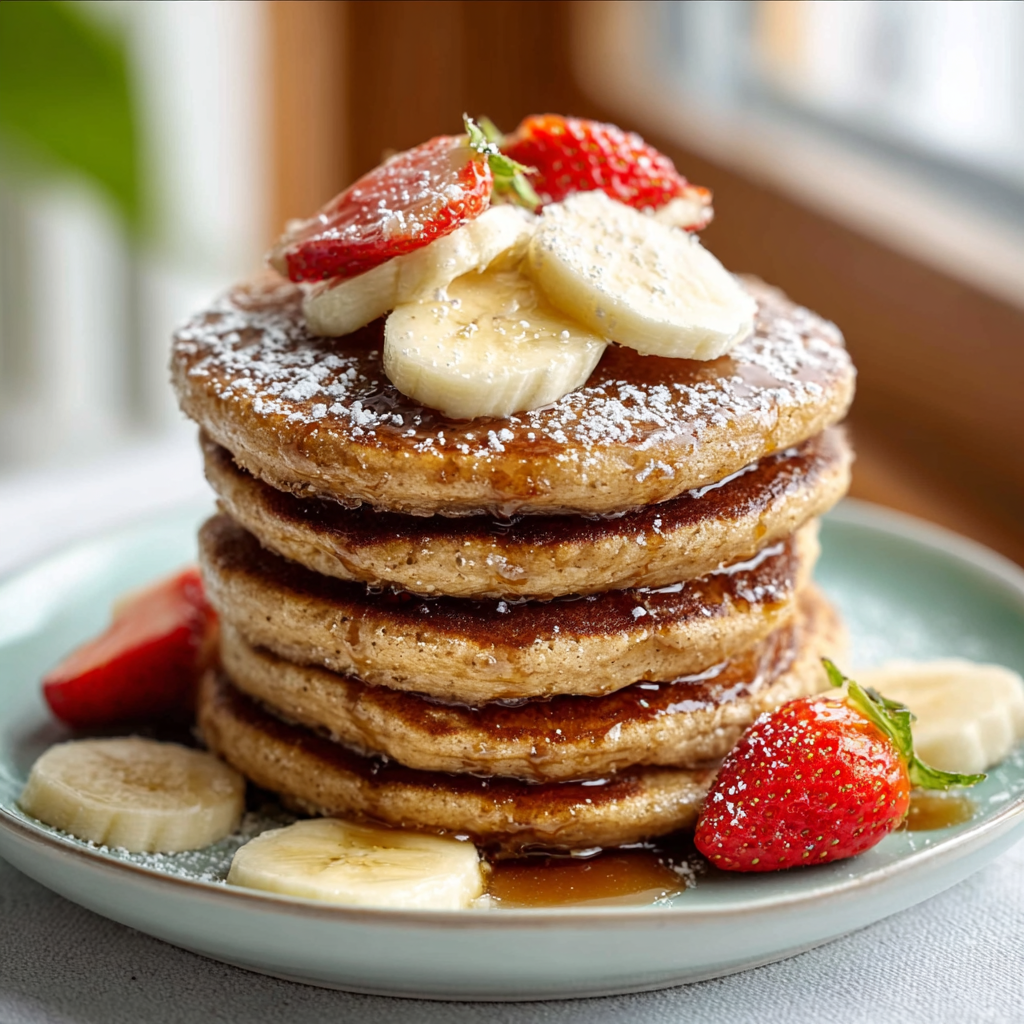
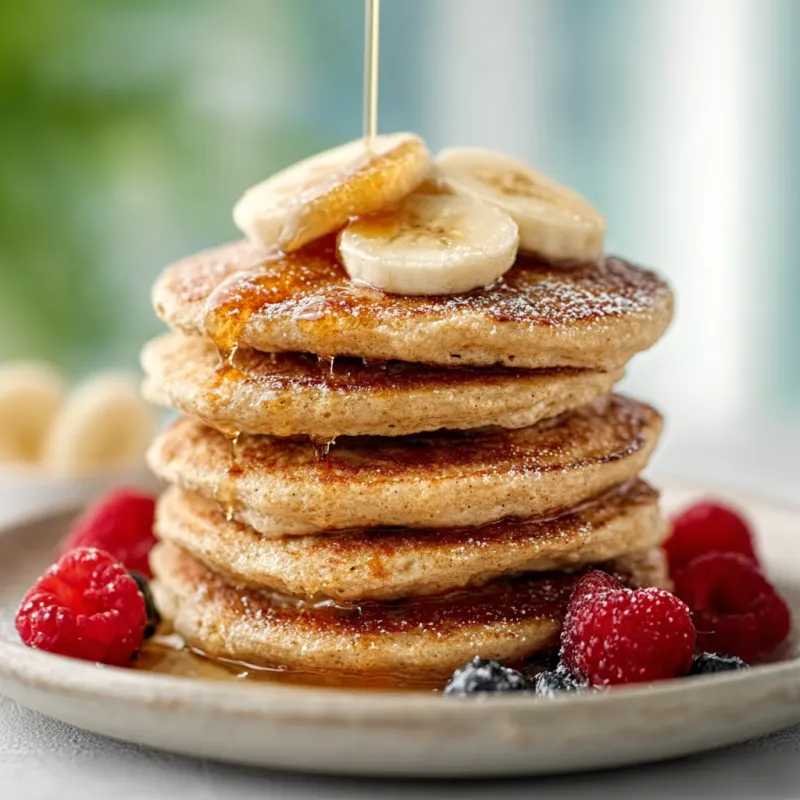
For serving, keep it simple. A light drizzle of maple syrup or a pat of butter. Avoid sticky syrups or chunky fruit compotes that change the texture. If you want to add fruit, slice it thinly and lay it on top, not mixed in. That way, the eater can choose to include it or not.
Make-Ahead and Storage Tips
These pancakes are best fresh, but they do reheat well. Let them cool completely on a wire rack (stacking them hot traps steam and makes them soggy). Store in an airtight container in the fridge for up to 2 days. To reheat, use a toaster or a dry skillet over low heat for about 30 seconds per side. The microwave makes them rubbery—avoid it if you can.
For freezing, lay the cooled pancakes in a single layer on a baking sheet, freeze until firm, then transfer to a freezer bag. They’ll keep for a month. Reheat straight from frozen in a toaster or skillet.
A Note on Your Needs
Every eater is different. What works for one person may not work for another. This recipe is a starting point. If you need a dairy-free or egg-free version, the notes above offer adjustments. Always consult a qualified professional for personal dietary decisions, especially if you’re managing allergies or medical conditions.
The goal here is a pancake that feels safe. One you can count on. One that looks the same every time you make it. And with these steps, it will.
Takeaway: For a truly predictable pancake, blend the batter smooth, rest it for 5 minutes, and cook low and slow. The result is a soft, uniform texture that works for sensory-sensitive mornings.
Frequently Asked Questions
Why do these pancakes need to be blended?
Blending ensures a completely smooth batter with no lumps of flour or pockets of dry ingredients. For sensory-sensitive eaters, a uniform texture is key—no unexpected gummy bits or gritty patches. The blender also aerates the batter slightly, giving a softer crumb.
Can I use a different flour blend?
Yes, but stick with a blend that includes xanthan gum or guar gum. This provides the stretch and softness that mimics wheat pancakes. If your blend doesn’t have gum, add 1/2 teaspoon xanthan gum. Avoid coconut flour or almond flour alone—they change the texture dramatically, making it denser or grainier.
Why rest the batter for 5 minutes?
Gluten-free flours need time to absorb liquid. Without resting, the batter is thin and the pancakes turn out gummy or flat. Resting gives a thicker, more cohesive batter that cooks into a soft, springy pancake. It also lets any large air bubbles escape, so the surface is even.
How do I know the pan is the right temperature?
Heat the pan over medium-low for a full 2 minutes. Flick a drop of water onto the pan—if it sizzles gently and evaporates in a few seconds, it’s ready. If it dances and disappears instantly, the pan is too hot. Too-hot pan makes the outside brown before the inside is cooked, creating a hard crust and raw center.
Can I add mix-ins like blueberries or chocolate chips?
You can, but for a truly predictable texture, add them to the pan after pouring the batter, not into the bowl. That way each pancake has the same base texture, and you control where the add-ins go. Gently press a few berries or chips into the wet batter. This avoids pockets of cold or soggy spots.
Autism-Friendly Soft Pancakes
Ingredients
Equipment
Method
- In a blender, combine the milk, egg, melted butter, and vanilla. Blend on low for 10 seconds.
- Add the gluten-free flour, sugar, baking powder, baking soda, and salt. Blend on low for 15 seconds, then scrape down the sides. Blend again for 10 seconds until the batter is completely smooth. No lumps allowed.
- Let the batter rest for 5 minutes. This allows the flour to hydrate and the bubbles to settle. The batter should be thick but pourable, like heavy cream.
- Heat a nonstick skillet over medium-low heat (about 300°F / 150°C). A drop of water should sizzle gently, not aggressively.
- Lightly grease the skillet with a thin film of oil. Pour 1/4 cup of batter per pancake. Do not spread it. Let it flow naturally into a round.
- Cook until the edges look dry and small bubbles form on the surface, about 2-3 minutes. The bottom should be golden brown, not dark.
- Flip gently with a spatula. Cook for another 1-2 minutes, until the pancake is cooked through and springs back when pressed lightly.
- Serve immediately, or keep warm on a plate in a 200°F oven. These pancakes are best fresh.