The first time I made pancakes for a friend’s son who avoids most breakfast foods, I watched him pick at the edges. He touched the surface, turned the pancake over, then took a tiny bite. Then another. He ate three. That moment taught me more about texture than any cookbook ever could.
For many autistic individuals, food is about predictability. A pancake should be the same color all over, the same softness in every bite, with no surprise crunch or chewy pocket. Gluten-free pancakes can deliver that—but only if you treat the batter with care.
The Science of Soft, Uniform Pancakes
Gluten-free flours lack the elastic protein network that holds regular pancakes together. Without gluten, you need other strategies to create a tender, cohesive crumb without gumminess.
Choose the Right Flour Blend
A good all-purpose gluten-free blend already contains xanthan gum, which mimics gluten’s stickiness. I use one with rice flour, tapioca starch, and potato starch. Avoid blends with bean flours—they add an earthy taste and denser texture. If your blend lacks xanthan gum, add 1/4 teaspoon per cup of flour.
Rest the Batter
This is the most important step. After mixing, let the batter sit for 10 minutes. During this time, the starches absorb liquid and swell, which smooths out any grittiness. The batter also thickens slightly, so the pancakes spread less and cook into even rounds. Skipping this step gives you thin, uneven pancakes with a gritty mouthfeel.
Building a Predictable Texture
Uniformity starts with the cooking process. Use a 1/4 cup measure for each pancake. Spread the batter gently with the back of the cup—don’t swirl it around. Keep the heat steady at medium-low. If the pan is too hot, the outside browns before the inside cooks, leaving a raw center. Too low, and the pancakes dry out.
Watch for bubbles. When the surface is covered with small, even bubbles and the edges look set, it’s time to flip. The first pancake is always a test—adjust heat if needed.
Flavor That Doesn’t Overwhelm
Strong flavors can be a barrier. These pancakes are mildly sweet, with just two tablespoons of sugar. The buttermilk adds a gentle tang that balances without shouting. If you’re serving someone who prefers plain food, skip the vanilla extract. The pancakes will still taste clean and pleasant.
For a lower-sugar option, use one tablespoon of maple syrup instead of sugar. The pancakes will be slightly less tender, but still soft. Avoid artificial sweeteners—they can leave a metallic aftertaste.
Serving Suggestions for Sensory Needs
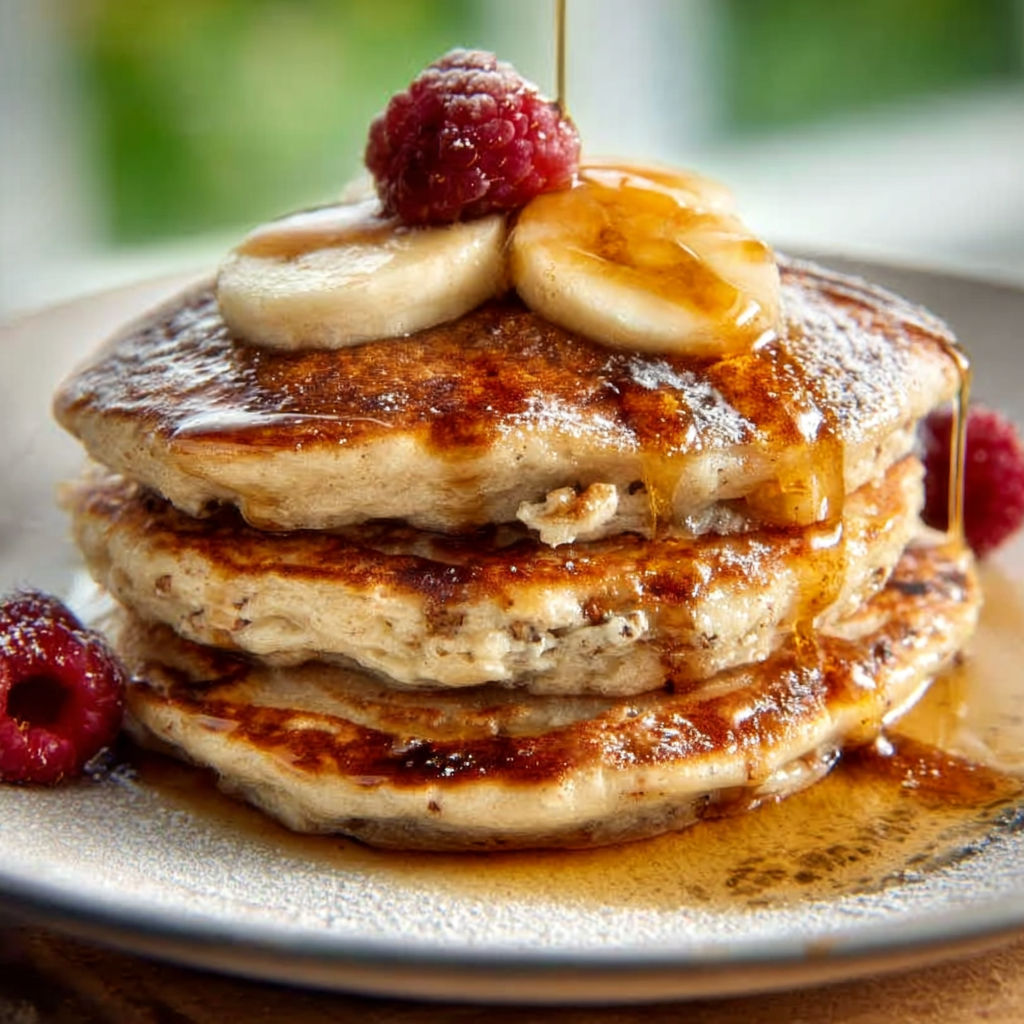
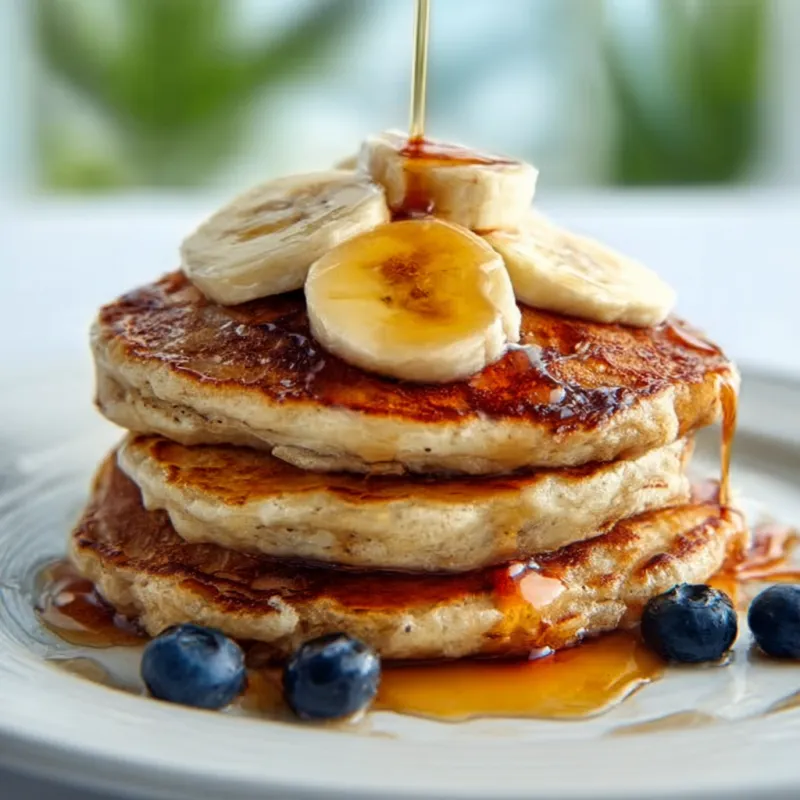
Let the eater choose how to interact with the food. Some prefer pancakes plain, with no syrup touching the surface. Serve syrup in a small cup on the side so they can dip or drizzle as they wish. Others like a thin layer of fruit puree (applesauce or pear puree work well) spread evenly across the top.
Temperature matters too. These pancakes are best served warm, not hot. Let them cool for a minute on the plate before serving. If reheating later, use a toaster for a slightly crisp edge or microwave for a soft, steamy texture.
A Note on Consistency Across Batches
If you’re making a large batch for the week, cook all the pancakes at once, then cool and freeze them. Stack with parchment paper between each pancake so they don’t stick. Reheat directly from frozen in a toaster or microwave. The texture holds up well for up to three months.
One common mistake: adding extra liquid to thin the batter. Gluten-free batter is naturally thicker than wheat batter. That’s okay. Thick batter gives you fluffy, tender pancakes. Thin batter spreads too much and becomes flat and rubbery.
Takeaway
These pancakes are about more than ingredients. They’re about creating a food experience that feels safe and predictable. When the texture is soft, the flavor is gentle, and every pancake looks the same, mealtime becomes less stressful. And sometimes, that’s the most important recipe of all.
Note: This content is for educational purposes. For personalized dietary guidance, please consult a qualified professional.
Frequently Asked Questions
Why do these pancakes need to rest before cooking?
Resting the batter allows the gluten-free flour to fully hydrate. This softens the graininess that some blends have, giving a smoother, more uniform texture. It also lets the leavening agents start working, so the pancakes rise evenly without creating large air bubbles that can be off-putting for sensory-sensitive eaters.
Can I make these pancakes dairy-free?
Yes. Substitute the buttermilk with a dairy-free milk (like oat or almond) mixed with 1 tablespoon lemon juice, and use a neutral oil instead of butter. The texture will be slightly less tender but still soft.
How do I keep the texture consistent every time?
Measure ingredients by weight if possible (120g flour, 240ml buttermilk). Use the same brand of gluten-free flour blend each time, as different blends absorb liquid differently. And always let the batter rest.
What if my pancakes turn out gummy?
Gummy pancakes usually mean the batter was overmixed or the heat was too low. Overmixing develops too much structure from the starch, while low heat causes the pancakes to cook slowly and lose moisture. Use medium-low heat and mix only until combined.
Soft Gluten-Free Autism-Friendly Pancakes
Ingredients
Equipment
Method
- In a medium bowl, whisk together the gluten-free flour, sugar, baking powder, baking soda, and salt. Make sure there are no lumps.
- In a small bowl or liquid measuring cup, whisk the buttermilk, egg, melted butter, and vanilla (if using) until well combined.
- Pour the wet ingredients into the dry ingredients. Stir gently with a spatula just until no dry streaks remain. A few small lumps are fine. Do not overmix.
- Let the batter rest for 10 minutes. This allows the flour to hydrate and the batter to thicken slightly, which creates a more uniform texture.
- Heat a non-stick skillet or griddle over medium-low heat (about 300°F if you have an infrared thermometer). Lightly grease with a little butter or oil.
- Pour 1/4 cup of batter onto the hot surface for each pancake. Spread gently with the back of the measuring cup if needed to make an even round.
- Cook until bubbles form on the surface and the edges look set, about 2-3 minutes. The bottom should be golden brown.
- Flip carefully with a spatula. Cook for another 1-2 minutes until the second side is golden and the pancake is cooked through.
- Serve warm, plain or with a small amount of maple syrup or fruit puree on the side.